Shed roof repair is something every shed owner in South Lakes & North Lancashire will likely face at some point. Whether it’s dealing with leaks, wear and tear, or simply maintenance, repairing a shed roof is an essential part of preserving your outdoor space. Understanding how to repair a shed roof will save you time and money while ensuring your shed remains sturdy and weather-resistant.
In this step-by-step shed roof repair guide, we will cover everything you need to know about repairing your shed roof. We’ll guide you through DIY shed roof repair tips, common shed roof problems, and the right tools for the job. Whether you have a wooden shed roof, a flat roof, or need to address shed roof leaks, this guide will help you tackle repairs with confidence and effectiveness.
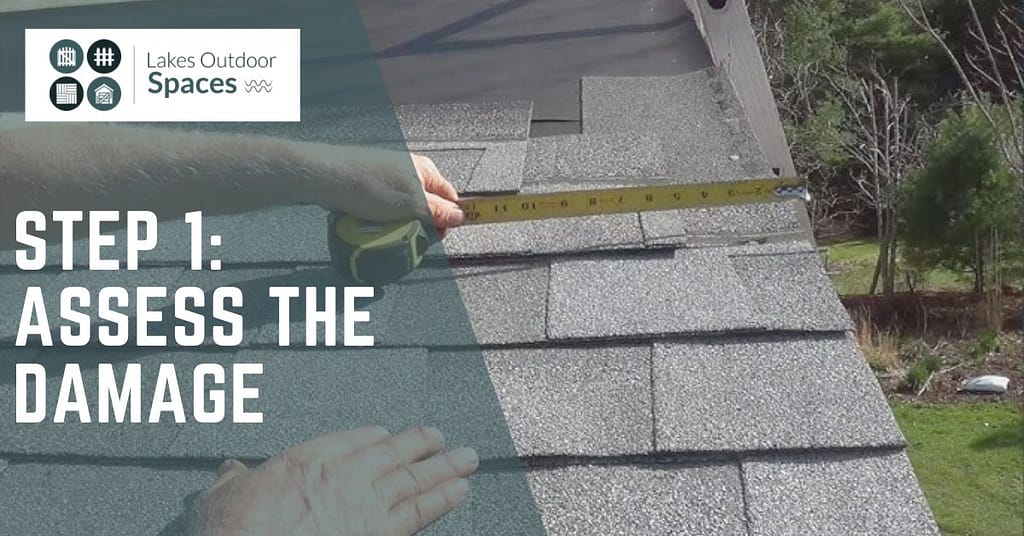
Step 1: Assess the Damage

Before jumping into repairing your shed roof, the first step is to assess the damage. Walk around your shed and look for visible signs of damage. Check for leaks, cracks, or areas where the roof might be sagging. Inspect the roof shingles or roofing materials for wear. If you spot shed roof leaks, determine their source—whether it’s a broken shingle, missing flashing, or another issue.
If the damage is severe, it might be time for a shed roof replacement. In some cases, small issues like replacing shed roof shingles or patching up a wooden shed roof may suffice.
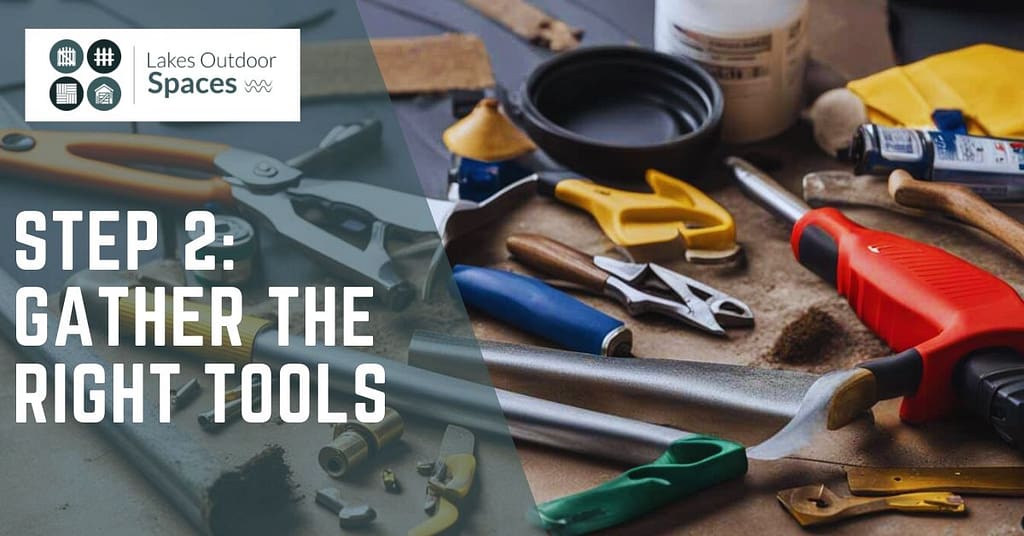
Step 2: Gather the Right Tools

Having the proper tools for shed roof repair is essential for completing the job correctly. Some of the basic tools you’ll need include:
- Ladder: To reach the roof safely
- Roofing nails or screws
- Hammer or drill
- Roofing adhesive or shed roof sealant
- Roofing materials for sheds (shingles, rubber, or plywood)
- Utility knife for cutting materials
- Measuring tape
- Caulk gun (for waterproofing)
- Putty knife for smoothing adhesive
Step 3: Choose the Right Roofing Materials
When it comes to repairing shed roofs, selecting the right roofing materials is key to a successful repair. The material you choose should complement your shed’s structure and the typical weather conditions in South Lakes & North Lancashire.
Here are some of the common options for roofing materials for sheds:
- Asphalt Shingles: These are easy to install and provide excellent protection from the elements. Ideal for sloped roofs.
- Rubber Roofing: If your shed has a flat roof, rubber shed roof repair might be your best option. It’s durable and waterproof.
- Wooden Shingles or Planks: For a classic look, wooden shingles can work well on traditional sheds. They may require more maintenance but can last a long time with proper care.
- Corrugated Metal: This is a durable and low-maintenance material that provides great protection against the elements.
If you’re unsure which material to use, ask for advice from a professional or consult shed roof maintenance resources for guidance.
Step 4: Repair or Replace the Shingles
If your shed roof leaks are caused by damaged or missing shingles, replacing them is often the most straightforward solution. Start by removing the damaged shingles with a putty knife or pry bar. Be careful not to damage the surrounding roof material. Once the old shingles are removed, measure and cut new shingles to fit the gaps.
When installing new shingles, overlap them to ensure proper coverage and prevent future leaks. Secure each shingle with roofing nails. If you’re dealing with a wooden shed roof repair, you may need to replace damaged planks instead of shingles.
Step 5: Waterproof Your Shed Roof
After replacing the shingles or roofing material, it’s important to waterproof your shed roof to prevent future leaks. Use shed roof sealant or roofing adhesive around the edges of the shingles and any seams. If you have a flat shed roof, consider applying a layer of rubber roofing to further protect the surface.
How to fix a leaking shed roof involves sealing any gaps or cracks where water might enter. Apply waterproof caulk along the roof’s joints and flashing to prevent leaks from forming.
Step 6: Maintain Your Shed Roof
Regular maintenance is critical to keeping your shed roof in good condition. Shed roof maintenance can extend the life of your roof and prevent costly repairs. Some essential tips for maintaining your roof include:
- Inspecting the roof regularly: Check for wear, leaks, and damage, especially after storms.
- Cleaning gutters: Ensure that your gutters are clear of debris to prevent water damage to your roof.
- Reapplying shed roof sealant: Over time, the waterproofing sealant may wear off. Reapply it as needed.
- Trimming nearby trees: Limbs that hang over your shed can damage the roof or cause debris buildup.
Regular checks can help you spot problems early and prevent major damage later.
Step 7: Consider Professional Help
While DIY shed roof repair can be a rewarding and cost-effective option, some repairs may be too complex or dangerous to handle on your own. If you’re unsure about the extent of the damage or if your roof requires a full shed roof replacement, it’s a good idea to consult with a professional.
In South Lakes & North Lancashire, professional roofing services can help you assess the damage, choose the best materials, and ensure the job is done safely and efficiently.
Keep Your Shed Roof in Top Condition
Proper shed roof repair is essential for protecting your shed from the elements. By following this step-by-step shed roof repair guide, you can address common issues like leaks, damaged shingles, and wear. Whether you’re dealing with repairing flat shed roof problems or wooden shed roof repair, taking action quickly will help preserve your shed for years to come.
Regular shed roof maintenance and attention to detail are key to ensuring your shed remains in top shape. If you’re in South Lakes & North Lancashire and need expert advice or help with your shed roof, don’t hesitate to reach out to professionals who can guide you through the process.
Contact Lakes Outdoor Spaces today for more tips on DIY shed roof repair in South Lakes & North Lancashire!


Leave a Reply